How to Visit Dimmuborgir
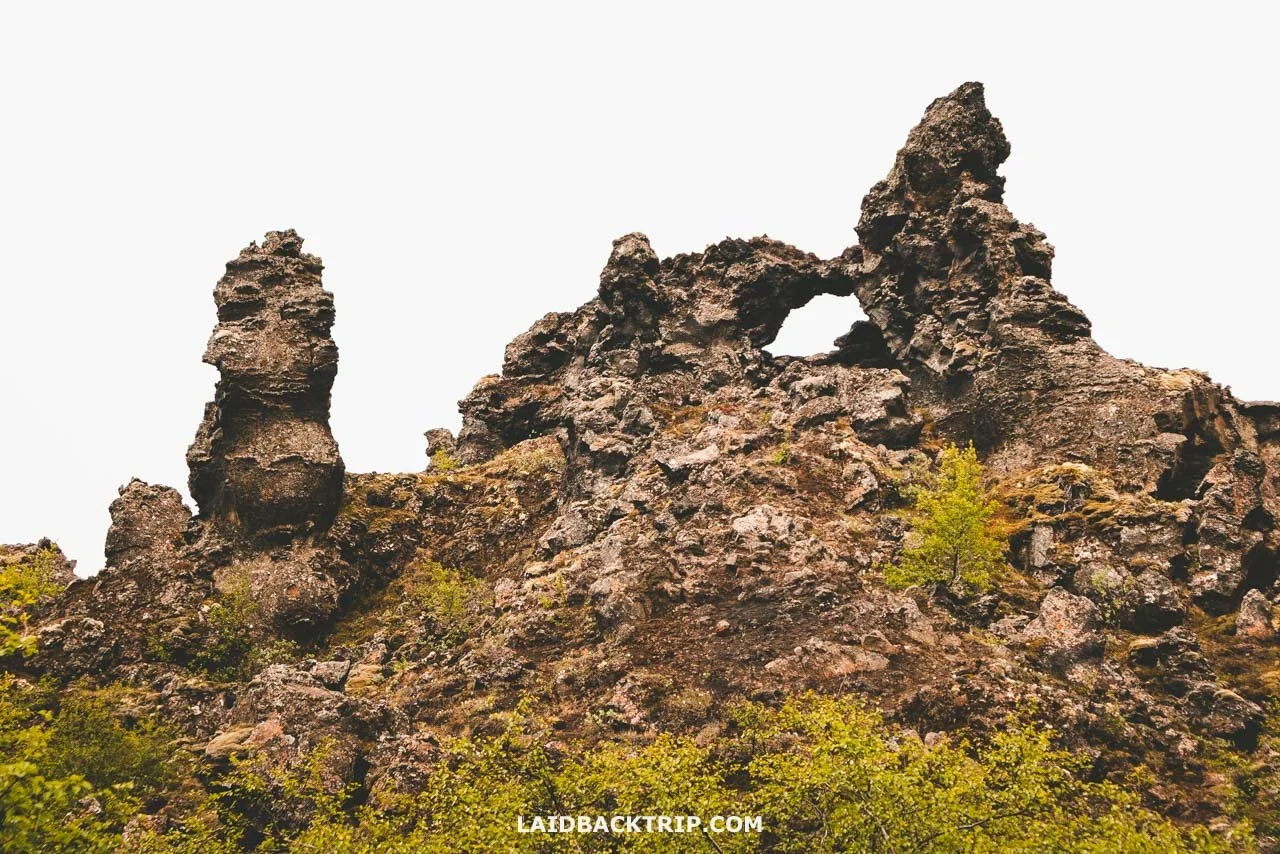
Dimmuborgir's lava field is known for its "Dark Castles," with jagged, hollow lava pillars, volcanic arches, and caves.
Dimmuborgir was one of the unexpected gems we discovered in North Iceland. We combined all its trails into one hike, and here's how it went!
Dimmuborgir was one of those places we decided to visit at the very last minute. We had just come back from nearby Hverfjall Crater, and because the weather didn't get any worse but instead remained the same, gray clouds mixed with occasional drizzle, and Dimmuborgir was practically around the corner, we figured we'd give it a try.
We could already see the huge lava field from the crater trail, but from up there it looked pretty much like any lava field would. Seeing its scale was impressive, but it didn't immediately strike us as the kind of place we'd want to explore up close like an erupting geyser or a walk-behind waterfall. So we honestly weren't sure what to expect.
The reason we still stopped at Dimmuborgir was that we had heard about its unusual rock formations, volcanic caves, easy walking trails, and the Icelandic folklore tied to the area. What we also found out, and what mattered even more, was that this was one of those places that simply had to be experienced on foot.
Earlier at Skaftafellsjökull, we could admire the glacier's size from the trail above its moraine. But at Dimmuborgir, the only way to understand what made the lava field special was to walk through it. So that's exactly what we did.
Hiking in Dimmuborgir
When we arrived, we had no idea which trail we would choose, simply because Dimmuborgir was one of the places we had kept as optional and hadn't really looked into beyond knowing it had walks through lava fields. So once we reached the info panels with all the hikes in the area, we found out Dimmuborgir had five hiking trails with little to no elevation gain. After a quick look at the map, we decided to combine practically all of them into our hike.
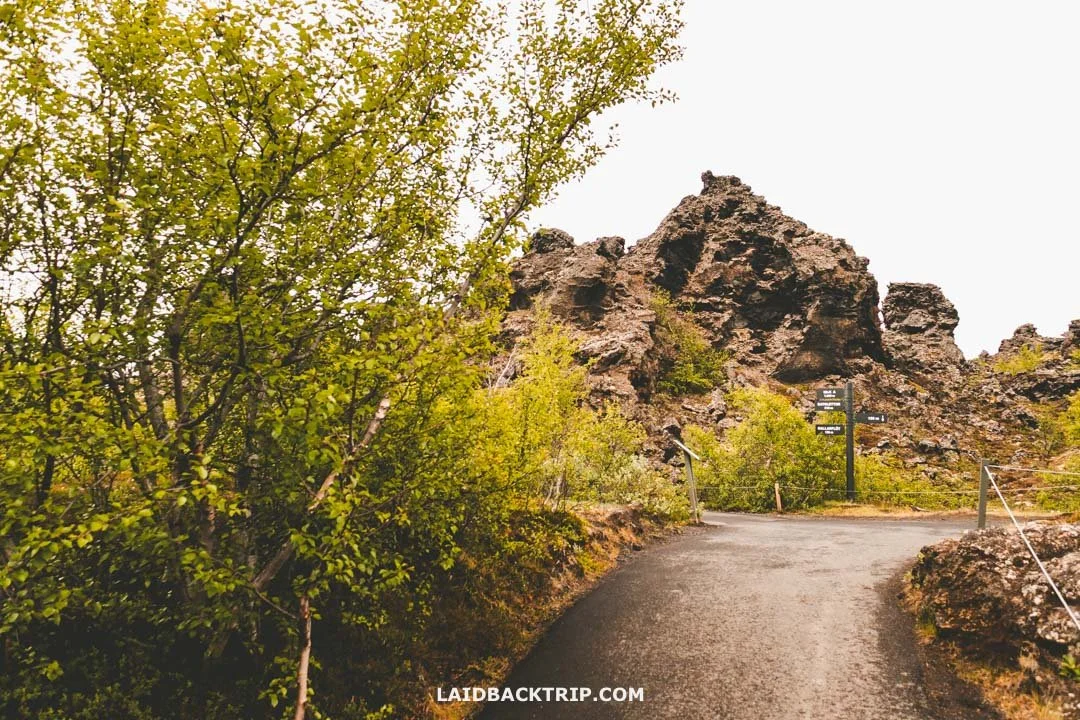
Past the trailhead, the path was paved, but we could already see some uniquely shaped lava rocks.
Litli Trail
From the parking lot, we first followed the purple trail called Litli hringur. This loop was about 600 meters long, and we had to take it either way since it was the only way to reach the other trails. This was an easy, paved trail that to us looked like a great little introduction, but as I said, it was just that, an introduction. And we wanted to see more. So at the first opportunity, we left it and ventured deeper into the lava field.
Stóri Trail
In practical terms, this meant leaving the purple loop and joining the yellow route called Stóri hringur. This 900-meter loop was where things got more interesting. The reason we chose this trail was that it led to Hallarflöt, an area with a huge hole in the lava rock that is considered one of Dimmuborgir's main attractions. It was a short detour from the loop, but very easy to reach, and the rock formation was just incredible.
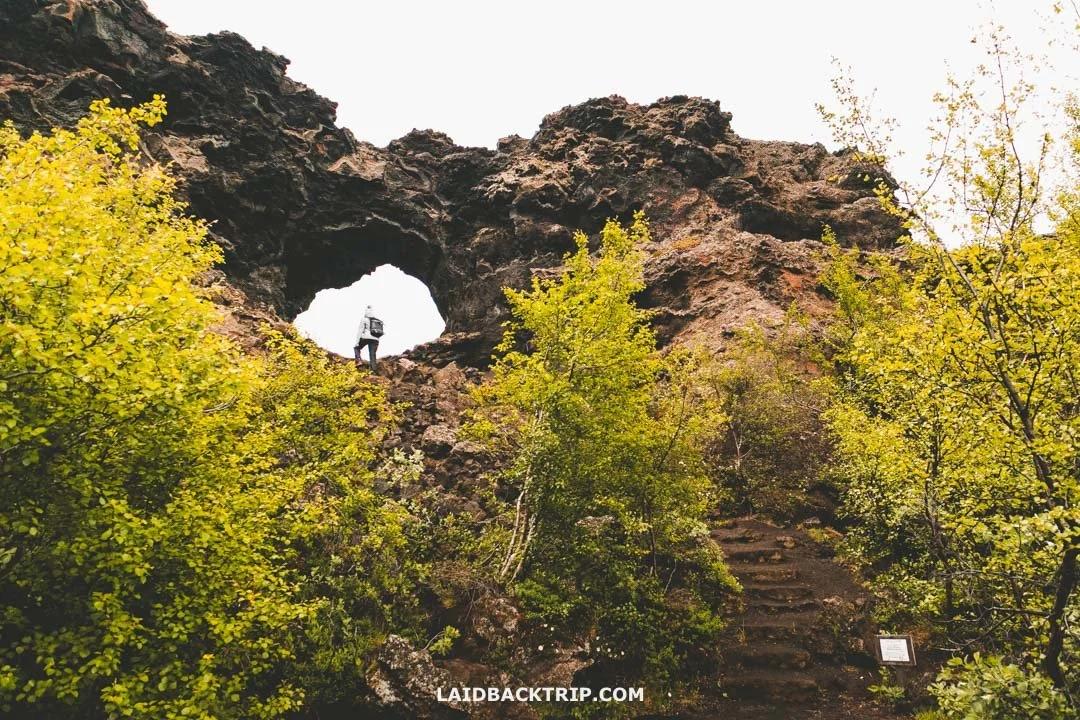
This hole in the lava rock is one of Dimmuborgir's most impressive rock formations.
The trail was paved, but just before the hole it turned into a volcanic path with steps and a very, very short climb. We quickly made it to the top and enjoyed the views over Dimmuborgir as well as the volcanic arch itself. Compared to the sea arch at Dyrhólaey, this one was tiny, but it was still pretty incredible nevertheless.
We returned to the small junction we had visited just a minute earlier, turned left, and continued along the yellow trail all the way to another junction where it met the red loop. This is where the main four trails are interconnected. We stayed on the yellow path, which briefly shared the route with the red one, as we headed toward Kirkjan, the other main attraction in Dimmuborgir. This section was pretty cool, and we saw more interesting formations.
Kirkjuhringur Trail
When we reached the junction of the red and yellow trails (this is also the point where we would've arrived had we walked to Dimmuborgir from Hverfjall), we turned right and continued on what was now just the red trail called Kirkjuhringur.
The entire red loop was 2.2 kilometers long, but for now we followed it for only about 600 meters. The trail was unpaved but well maintained and very easy to walk on. We walked through a land of lava covered with short, thick bushes and ancient rock formations on both sides of the trail.
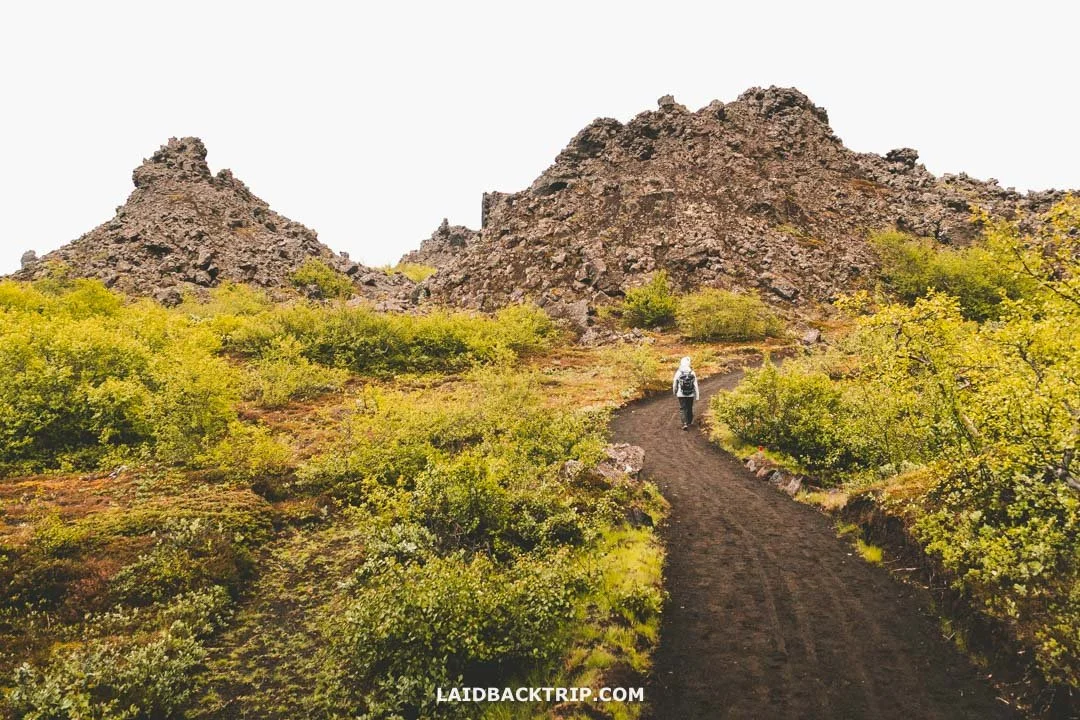
This section of the Kirkjuhringur trail was wide and easy to follow, and thankfully there wasn't any mud.
When we reached the junction where the red path met the green one, we continued a little farther to see Kirkjan (aka The Church). This lava cave really did resemble a ruined chapel, and even its "interior" looked like a part of some structure. It was fun to explore, but I have to admit that I found plenty of other formations more interesting.
Mellandahringur Trail
On the map, the green Mellandahringur, a 1.6-kilometer loop, didn't look that interesting to us, so we didn't continue. It did seem like a great trail for escaping the crowds, but since we were visiting on a fairly quiet day, we didn't really need that. Instead, we headed back to tackle the blue trail, which, from our quick inspection of the map, looked like it would be the highlight of Dimmuborgir.
Krokastigur Trail
The 900-meter-long Krokastigur connected the red trail in this farther section with the junction we'd already visited, the one where the purple, red, yellow, and blue trails met. Anyway, the blue trail had everything, and for me it was easily the most interesting part of Dimmuborgir.
It wasn't just the rock formations that were spectacular, but the trail itself was also more rugged and much more fun to walk.
World Nomads provides travel insurance for travelers to cover their trip essentials, including sports and adventure activities.
SafetyWing is affordable travel insurance for backpackers, long-term travelers, and digital nomads.
It felt like we were back on Eldraun, but instead of soft-looking, moss-covered mounds, there were misshapen, jagged rocks with razor-sharp edges poking out of the green shrubland.
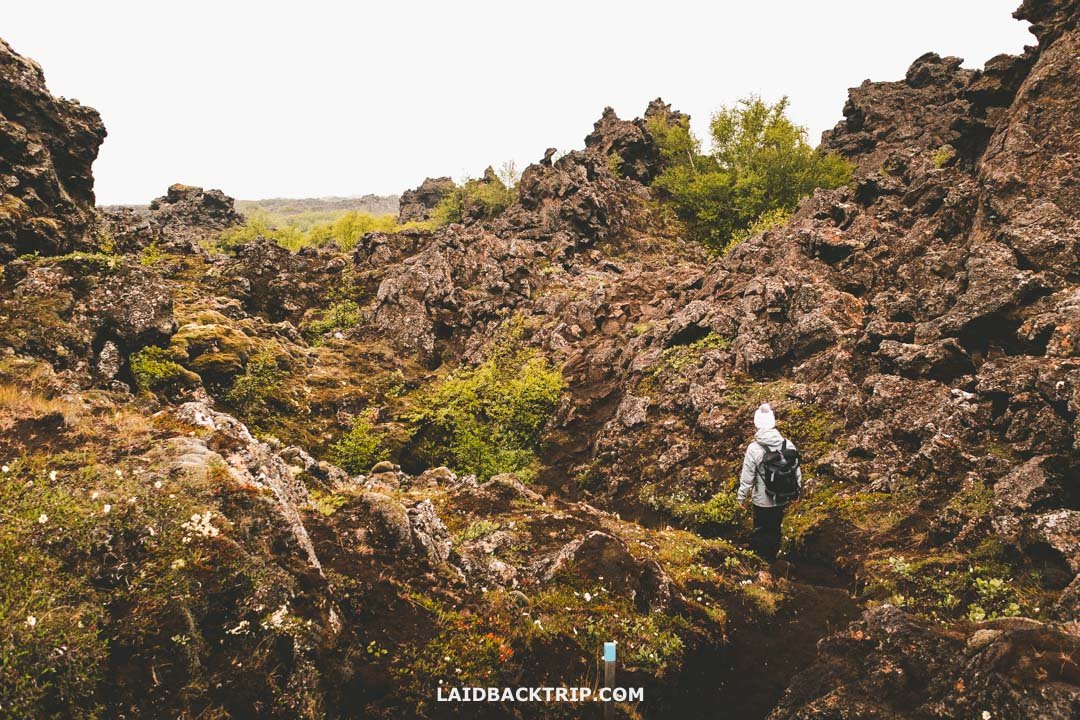
Krokastigur was easily our favorite trail at Dimmuborgir thanks to its rugged terrain and incredible lava formations.
I loved this part. Before we came here, I was debating with Lucie whether this place would be worth seeing given the limited time we had for the whole Diamond Circle. Choosing from the endless list of smaller attractions in North Iceland was tough, but if it was only for this trail, Dimmuborgir was absolutely worth visiting.
This volcanic maze of hollow lava pillars, towering arches, and dark caves was simply amazing. A few years earlier, we visited the Craters of the Moon, which were pretty incredible too. What I noticed here was that the shrubland gave Dimmuborgir a much more earthlike appearance.
History of Dimmuborgir
Dimmuborgir's lava formations were created about 2,300 years ago when the Þrengslaborgir and Lúdentsborgir craters erupted, causing lava to flow across the Mývatn area all the way to Skjálfandaflói. This was the same bay where we took our whale watching trip from Húsavík the previous evening, which was pretty incredible considering it was more than 60 kilometers north of here.
After the eruption, molten lava flowed across a small lake here at Dimmuborgir, and when these two elements met, the upper and lower layers solidified. The magma heated the water, causing steam to burst through vents and create the tall lava pillars in the process. When the lava tube covering the area eventually subsided (which is why the whole area sits a few meters lower than its surroundings), the solidified pillars remained. These formations, now known as the dark castles, are what we can still admire at Dimmuborgir today.
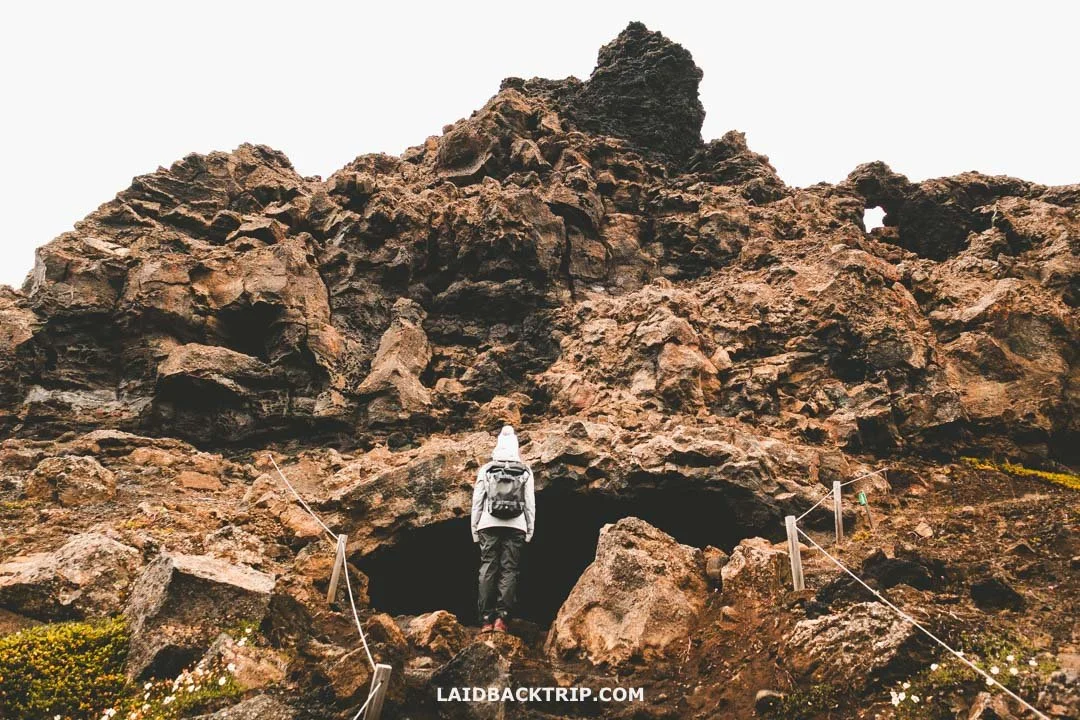
Dimmuborgir's unique lava formations date back more than 2,300 years.
Another super interesting thing I learned about Dimmuborgir was that in the 1940s a conservation program was launched to protect the area, which at the time was gradually silting up. The land was protected from sheep grazing, lyme grass was introduced, and rock barriers were built to reduce the problem. Walking through the lava field, I had no idea the landscape needed this much help, and without it, Dimmuborgir would probably look very different today.
Lastly, Dimmuborgir is supposed to be the home of the Yule Lads (Jólasveinn), who are basically Icelandic versions of Santa Claus. These 13 mischievous troll brothers with funny names (my favorite was Skyr Gobbler) visit children one by one during the 13 nights leading up to Christmas Eve. Well-behaved children get presents, while naughty ones get eaten.
In summer, we obviously didn't get to see them since they're most active in December. Besides its role in Icelandic Christmas folklore, Dimmuborgir was also used as a filming location in season 3 of Game of Thrones as Mance Rayder's wildling camp. We'd already visited Þingvellir and Vatnajökull, which were used in other scenes of this TV show, so that was pretty cool too.
How Much Time to Spend at Dimmuborgir
When we finally reached the aforementioned junction, we decided to finish the purple trail, which added another 200 meters to our walk. The path was paved and super easy to follow, so we got back to our car in no time. In total, we walked about three kilometers around Dimmuborgir and spent roughly 80 minutes on this little adventure.
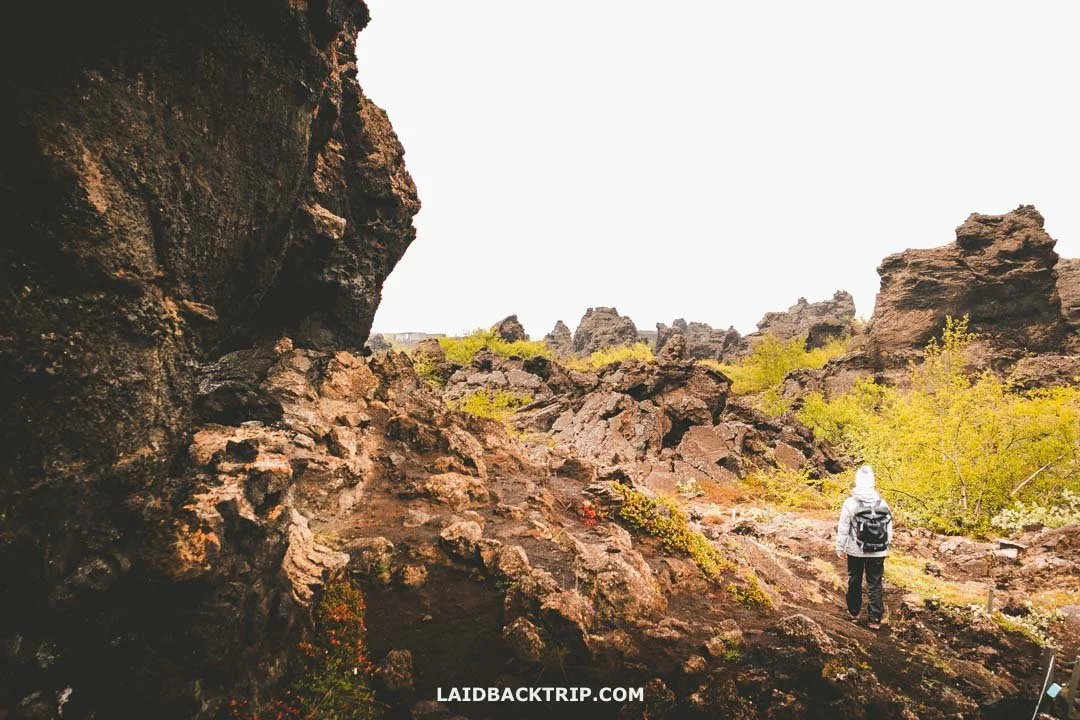
It took us just under an hour and a half to explore Dimmuborgir, but there was obviously more to see.
Out of the four main trails, we covered about two-thirds of their total length, which was pretty awesome because when we first looked at the map, we really didn't think we would. Of course, we mostly skipped the green trail, which was somewhat out of the way.
When to Visit Dimmuborgir
When we finally returned to our car, we were relieved that the weather had stayed the way it was. Even though we visited Dimmuborgir in summer, the conditions weren't ideal. Even down here was fairly cold and surprisingly windy (though not nearly as bad as on the rim of Hverfjall or earlier when we arrived in the East Fjords).
So apart from the occasional drizzle, we stayed mostly dry, thanks to our trusty rain jackets, which was the most important thing. And because the rock formations were all around us, we didn't really care about the clouds.
It wasn't like when we visited glaciers or traveled along the coast, and the bad weather limited our views. Here at Dimmuborgir, we could still see everything perfectly clearly. At the end of June, Dimmuborgir was really green, which was pretty cool. The dark volcanic rocks contrasted beautifully with the lush vegetation, and after the rain, the entire landscape felt vibrant.
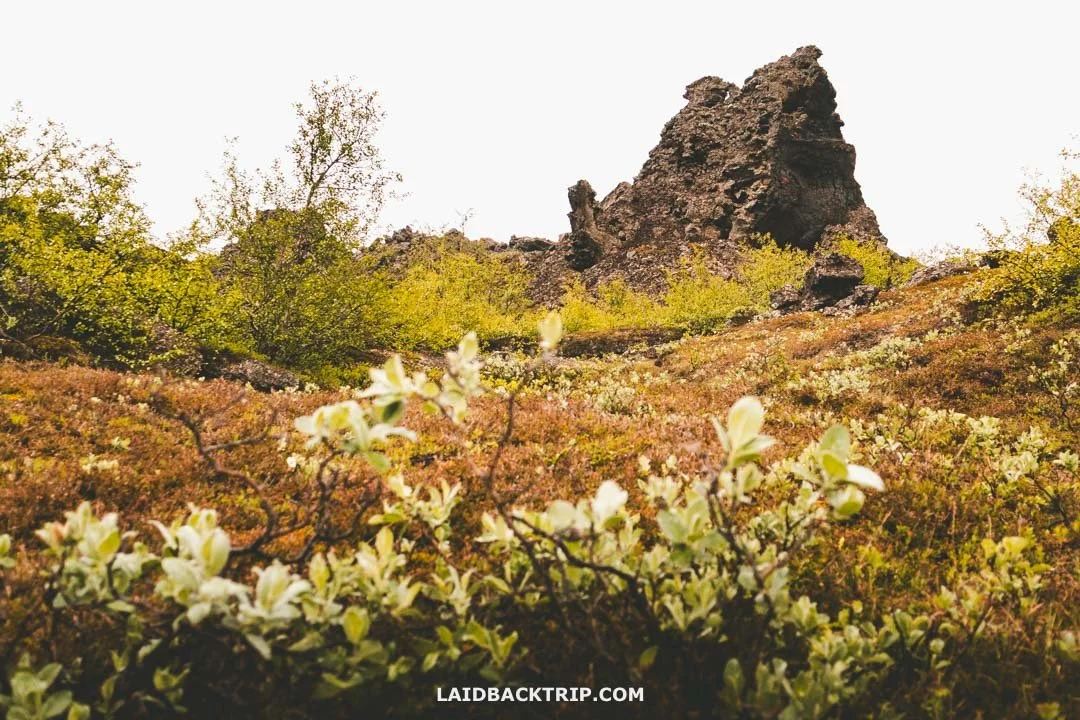
Dimmuborgir was beautiful in summer, even though we visited on a day with poor weather.
I could also imagine Dimmuborgir being pretty cool to see in winter, when the dark volcanic rocks would likely be covered by a white blanket of snow. Sure, snow and ice would make the hiking more challenging, but because the trails are mostly flat, it would be much easier than hikes like Waterfall Way or Glymur. Of course, proper winter gear would still be essential.
Another thing we liked about Dimmuborgir was that even at the start of the peak season, it felt fairly quiet. I know this lava field isn't Dettifoss or geothermal area at Hverir, but it was still awesome to find peaceful trails right beside popular Lake Mývatn. I should add that by the time we arrived it was already fairly late in the afternoon (Dimmuborgir is open 24/7), and of course the weather, combining cold temperatures, wind, and clouds that looked ready to start raining at any second, also played a big role.
But even on nicer days, I have a feeling Dimmuborgir still wouldn't be as crowded as some other attractions. By the way, visiting places later in the day didn't work great only at Dimmuborgir, it also allowed us to see popular sites like Reynisfjara and Gullfoss without the crowds.
Getting to Dimmuborgir
We were visiting Dimmuborgir as part of our trip around Mývatn, which meant that we first had to reach Reykjahlíð (about 80 km from Akureyri and 470 km from Reykjavik), a small village on the Ring Road that serves as the gateway to the area. From there, Dimmuborgir was just six kilometers away, but we also stopped at Grjótagjá and Hverfjall first, so the journey ended up being a bit longer. All of these sites are very close to each other, though, so getting from one to another only takes a few minutes.
Since we were traveling to Dimmuborgir from Hverfjall, it meant just a short 5-kilometer drive for us. The 1.3-kilometer access road branching off Road 848 was paved, unlike the road we had used to get back from Hverfjall to the main road. In summer, getting to Dimmuborgir couldn't have been easier since we didn't have to deal with the challenging winter conditions that bring snow and ice to these roads.
Parking at Dimmuborgir
Dimmuborgir was one of the places that still had free parking, and unlike many attractions that introduced fees over the years, it remains free to this day. I'm not saying that we wouldn't have visited if the parking had been paid, but being able to explore the lava field without spending anything extra was pretty great.
Entry Fee to Dimmuborgir
And because Dimmuborgir itself was free to explore too, we really didn't spend a single cent here. Traveling around Iceland wasn't exactly cheap, but places like Dimmuborgir helped keep the costs down a bit.
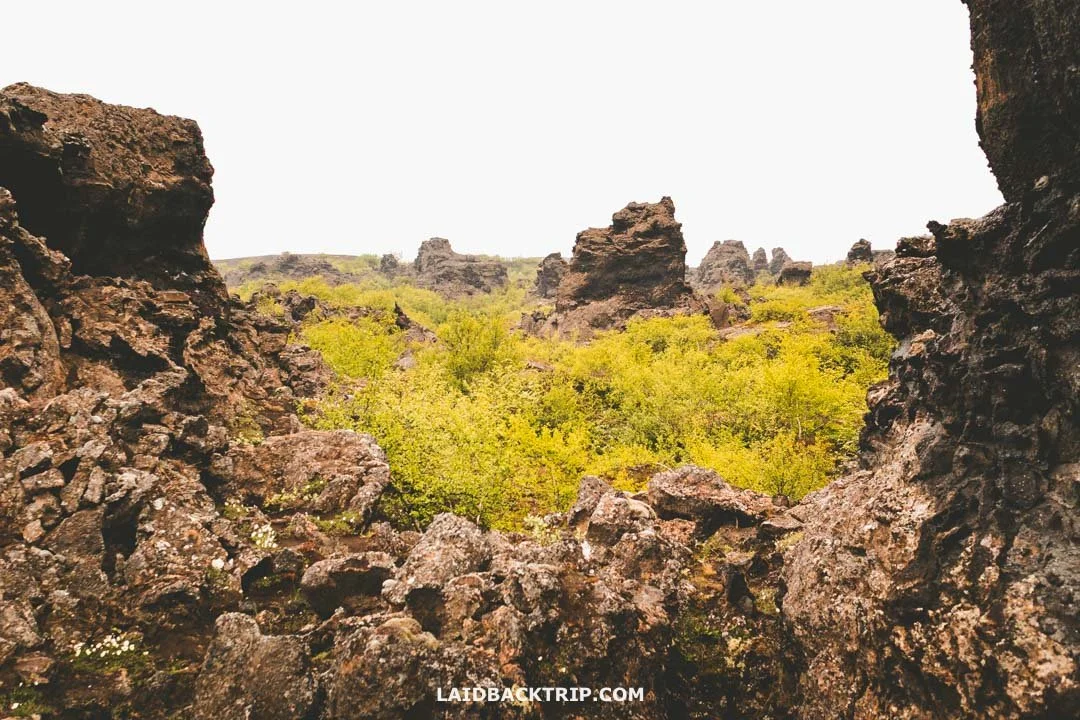
Dimmuborgir might not be the most famous place, but we really enjoyed exploring it!
Where to Stay at Dimmuborgir
Our next stop, and the final one for the day, was the Mývatn Baths. And after another long day on the road, we couldn't think of a better place to finish it. Once we were done there, we considered staying on the shores of Lake Mývatn in Reykjahlíð.
The town had a nice campground (if you decide on camping here, bring a bring a bug spray!) and a few good hotels like Fosshotel Mývatn, but because we wanted to get a head start on tomorrow's visit to Goðafoss, we continued to Laugar, where we found CJA Camping (which also had a guesthouse). Just across the main road from Dimmuborgir was another guesthouse, which was probably the closest place to stay near the lava field.
Travel Resources
Here you can find links to all the travel resources we use and which you might find helpful when planning your next holiday.
Accommodation: When looking for accommodation, we usually search hotels via Booking.com or Hostelworld.
Tours: Although we love to travel independently, some places are better to visit with a guided tour.
We prefer GetYourGuide for its easy-to-use interface and solid reputation. Another great alternative is Viator.
Rental Cars: When going on a road trip, we always use Rentalcars.com, a reliable site for booking a rental car in advance.
Flight Tickets: When looking for flight tickets, you can search Skyscanner to find the best price.
Travel Insurance: World Nomads and SafetyWing cover against risks of travel.
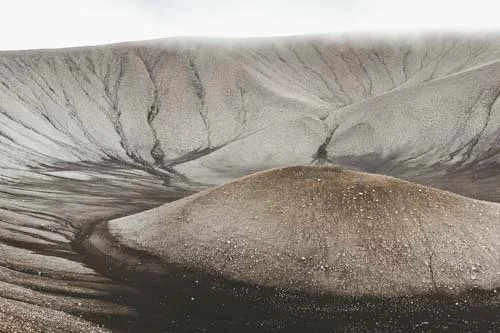
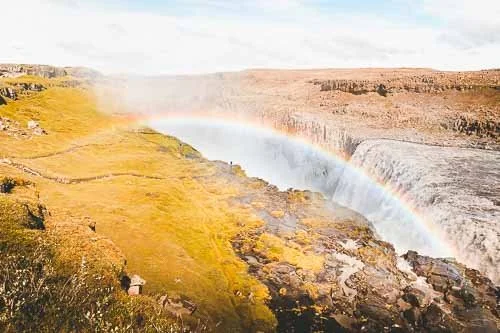
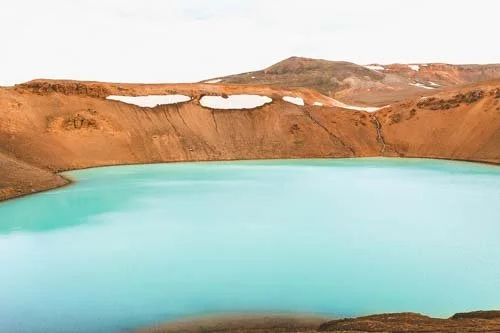
Visit Dimmuborgir in North Iceland with our guide, including how to get there, a detailed description of the hiking trails through the lava field, what to expect, the best times to visit, and whether we think it's worth seeing.